For a while now I'm been thinking I need to up my blog photography game and get a few new props. But then it came to me... why not do some DIY crafts and make my own props instead!
I don't like to blow my own trumpet, but these 4 DIY blog props turned out better than expected and literally took me no time at all! My personal favourites are the confetti ( actually fun to make!) and the DIY marble tray - let me know your favourite props in the comments!
Lets get DIY-ing!

1. DIY Hole Punched Confetti
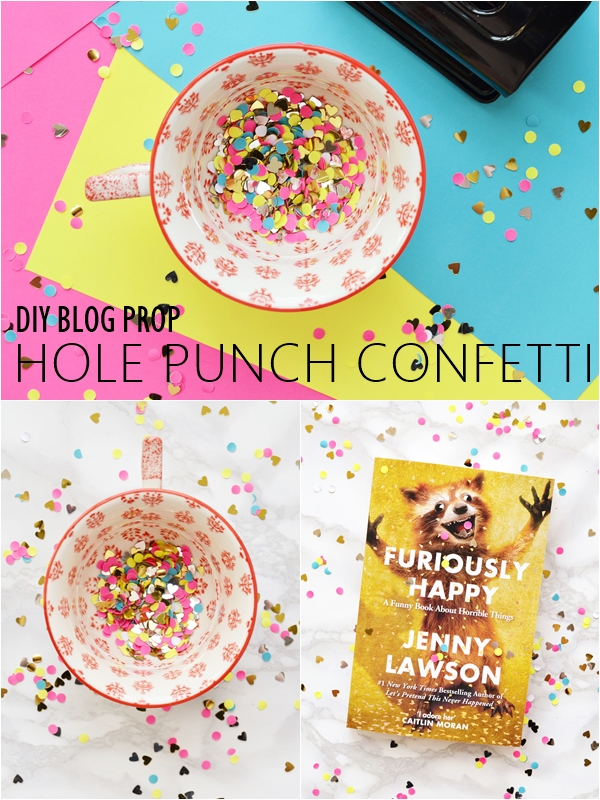
So, this couldn't be any simpler! Grab some coloured paper or card and get hole punching with a hole puncher! Okay, I decided to get a bit fancy and threw in some wedding table decoration hearts for good measure, but you could literally cut up different shapes and have a random ol' mix of DIY multi-coloured confetti to sprinkle over blog backgrounds.
As you can see sprinkled around my quirky looking Furiously Happy book it's a lovely fun effect!

2. DIY Dried Flowers
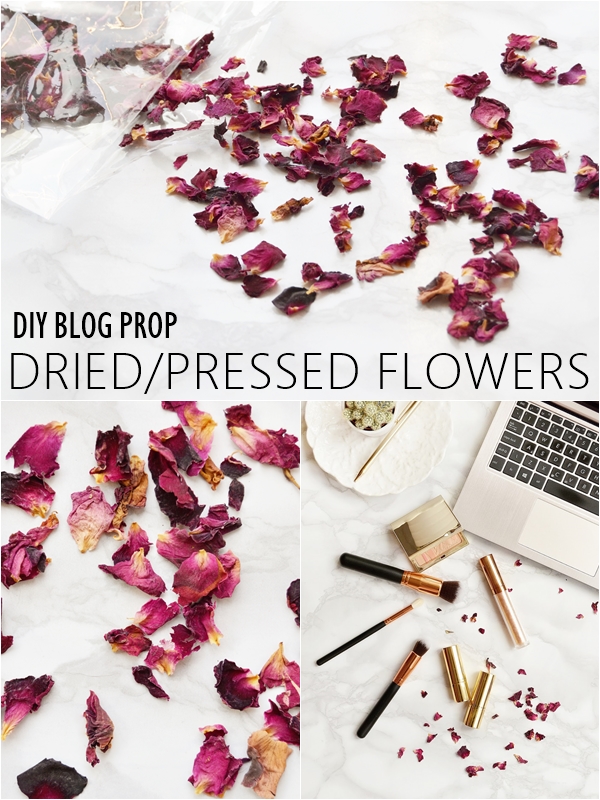
Okay okay, so I cheated here a teeny bit.... dammit, I bought these from eBay! BUT in my defence pressing your own flowers and drying them out is definitely a craft project you could do, I just didn't have the time! You simply need either a stack of heavy books or better still, a wooden flower press. This all feels very nostalgic as me and my sister use to enjoy pressing flowers when we were children and would collect all sorts of dainty flowers from our garden - it's actually a really nice hobby/craft for any age come to think of it.
I picked up these gorgeous dried rose petals, that smell amazing, for only �2.20 (15g) on eBay here. I wasn't sure on the weight but trust me you receive more than enough!
Perfect for delicate looking blog images along side makeup or skincare products.

3. DIY Marble Blogger Tray
This is possibly the DIY blog prop I'm most excited to share with you as the idea came to me last week and I couldn't wait to try it out!
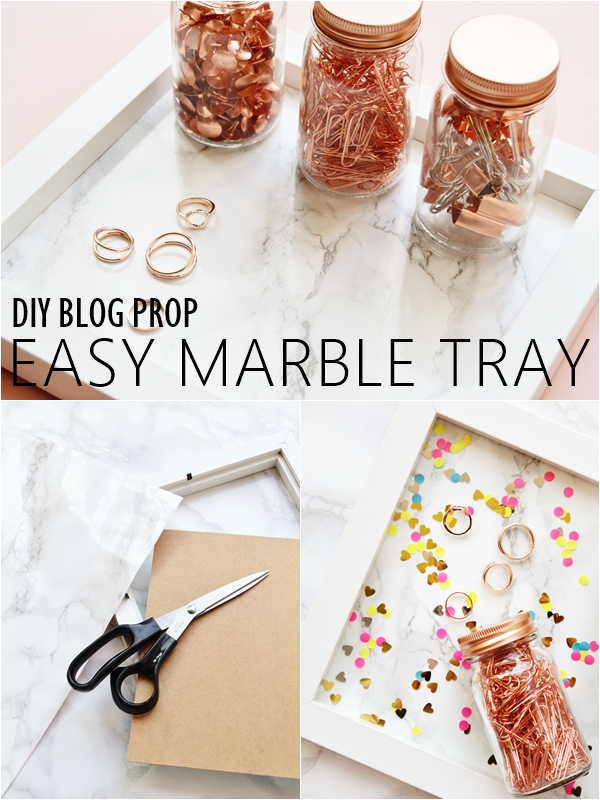
Taking some Marble contact paper (you can find a roll from eBay here for �6.99 or an A4 sheet (light grey) for �1.90 here. Also available in some hardware stores) simply apply it to the hard back of an old photo frame. It's totally up to you if you want to include the glass or not but to avoid reflection I decided to leave it out. This makes such an inexpensive marble tray and depending on the frame and size it can look as if you bought it!
For a confetti marble tray, simply keep the glass in, sprinkle your DIY confetti over it and then place your DIY marble backing and secure down. It really couldn't be any easier!

4. DIY Print-outs
Fancy some free prints to use in your blog backgrounds? Yes, me too!
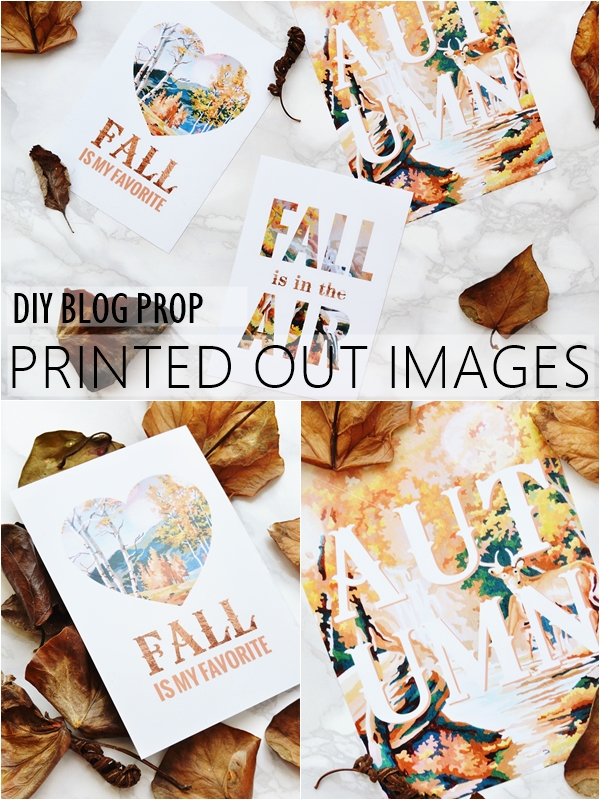
Thankfully there are a lot of talented people on the Internet who like to share free things. So I simply did a search (Pinterest is good for free printables!) for some free Fall prints and found these amazing fall images (you can find them here).
You could of course just print them straight out and they would be pretty much free but I decided to get them professionally printed for only �2.50 including delivery for around 8 prints! Bargain, right? I'm done this many times with prints to hang around my home and always use Truprints (find them here!) as they offer a matte finish option which make them look much more like a print rather than a photo! Prints start from only 5p so it's an inexpensive way to get some props for your blog backgrounds and some art to frame while you're at it! Currently 15% off order as well.

A selections of my favourite free art print printables -
Stop And Smell The Roses, Watercolour Chanel Liptick, Bloggers Gonna Blog,
You Cannot Walk A Straight Line

So there you have it! My four DIY Blog Prop ideas!
I literally feel like Martha Stewart now and want to try even more crafts!
Let me know if you make any of these - I'd love to see them!
Fee xo.
Post a Comment