If you've read Makeup Savvy for a long time you may have noticed a lack of nail posts this year. That would be because I'm become fairly lazy with my nails. Gone are the days I change my nail polish bi-weekly and I've even stopped buying them!
These days I like my manicure to last as long as possible - basically I'm a normal nail polish wearer and not an obsessed nail blogger anymore. FYI - I still love nail polish, don't worry!
These days I like my manicure to last as long as possible - basically I'm a normal nail polish wearer and not an obsessed nail blogger anymore. FYI - I still love nail polish, don't worry!
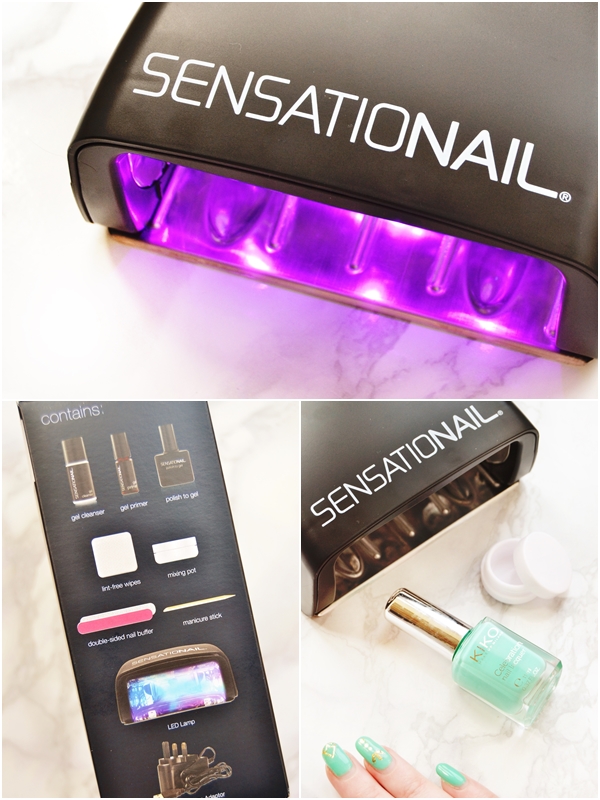
So when Sensational asked if I wanted to try their affordable Polish to Gel Starter Kit (currently �34.99 saving �15.00 at Boots here) I literally jumped at the chance because even though I've never experienced gel nails I've often admired my sisters ultra glossy talons after coming back from the nail salon plus I really wouldn't mind keeping my nail polish on my nails for long than 4-5 days. I also don't think I could fully get on board with gel nails and leave my extensive nail polish collection to collect dust and dry up!
 |
| The LED lamp can either be plugged into a wall socket or with the USB lead to your laptop! |
Which is why the Polish to Gel Kit makes sense if you already own a lot of nail polishes you still want to use. In the kit you receive pretty much everything you need to achieve gel nails at home but with the addition of the polish to gel transformer which you can use it two ways.
The simple gel top coat method
Paint your nails as normal (with a normal nail polish) and then once fully dry, we are talking 2+ hours here, apply the transformer top coat and cure under the provide UV/LED lamp for 15 seconds. Amazingly glossy and smooth nails that will last you 7+ days.
Paint your nails as normal (with a normal nail polish) and then once fully dry, we are talking 2+ hours here, apply the transformer top coat and cure under the provide UV/LED lamp for 15 seconds. Amazingly glossy and smooth nails that will last you 7+ days.
The longer mixing method
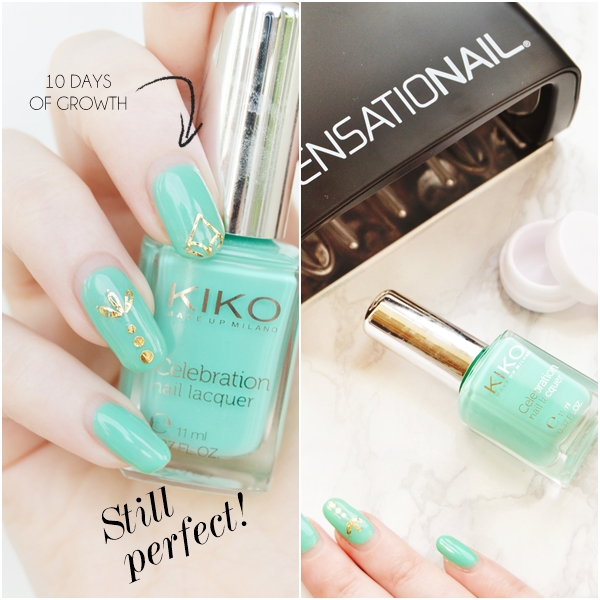
Mix your own nail polish with the transformer polish in the mixing pot provided and apply two coats, curing between each coat and then apply a single coat of the transformer as a top coat and cure again. This is more faffy however if you are someone that can't wait for your nails to dry and often smudges them you will be pleased to know once you're done they will be rock solid and won't smudge. This longer process also means you get an even longer wear time! My nails (below) using this method have been perfect and have lasted 10 days so far - amazing right?
Mix your own nail polish with the transformer polish in the mixing pot provided and apply two coats, curing between each coat and then apply a single coat of the transformer as a top coat and cure again. This is more faffy however if you are someone that can't wait for your nails to dry and often smudges them you will be pleased to know once you're done they will be rock solid and won't smudge. This longer process also means you get an even longer wear time! My nails (below) using this method have been perfect and have lasted 10 days so far - amazing right?

What method is best?
Personally I know I will use both methods for various reasons. Most of the time I can see myself using the simpler method of applying the transformer top coat and curing them once under the lamp as I'm generally ready for a change after a week. However I'll be certainly using the longer mixing method to create full on gel nails when I go on holiday and I'll be using this method on my toes so I can keep them in perfect condition for 2 weeks plus... yes, I'm lazy but I'm sure we're all a bit lazy when it comes to pedicures!
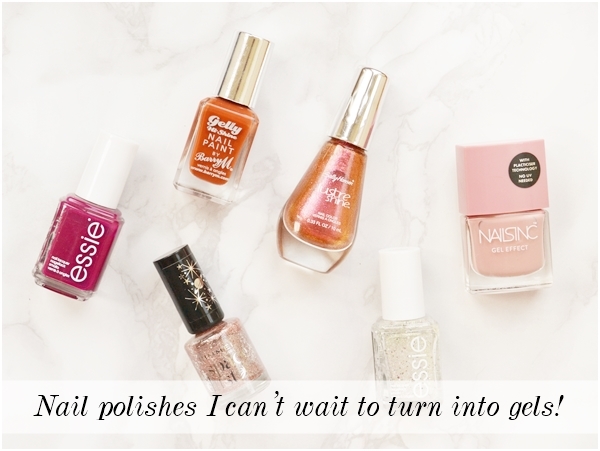
I'm also thinking both methods are great for that nail polish that always chips, everyone has one in their collection I'm sure! For this reason I'm excited to transform some of my amazing duochromes that chip so quickly, plus I'm already ooo'ing at the thought of the smooth glossy finish under bright lighting - I'm still nail obsessed deep down!
I'm also thinking both methods are great for that nail polish that always chips, everyone has one in their collection I'm sure! For this reason I'm excited to transform some of my amazing duochromes that chip so quickly, plus I'm already ooo'ing at the thought of the smooth glossy finish under bright lighting - I'm still nail obsessed deep down!
Removal
As for removal, just like gel nails or even stubborn glitter nails, they need to be soaked in acetone with tinfoil wrapped around them for 20 minutes and then the excess removed with a wooden stick. This does take a bit of time but having done it twice now I'm getting use to sitting with alien fingers whilst watching TV!

I should point out that if you aren't new to gel nails and already have a lamp and supplies then I'd highly recommend picking up just the Sensationail Transformer Polish to Gel Refill (small size �8.99 here or larger size �12.00 here) and using this method to get back to using some of your old non-gel nail polishes but as gels!
Side note - I also love that water nail decals can be used or just cut up temporary tattoos (what I used on my nails in this post) or even painted on nail art and then sealed in with the Gel top coat. I just can't get over the smooth feel and how they stay perfect for so long!
Overall I really think this is an extremely affordable kit that can also be used as a standard gel kit and I wouldn't hesitate to recommend this to anyone that wants a longer lasting manicure or to save money by ditching the nail salon.
Let me know your thoughts on the kit and if you've ever thought about transforming your standard nail polishes into true gel nails.
Fee xo.
Post a Comment